1. Materials and Tools
Essential Materials
Fabrics: Cotton, silk, velvet, lace, felt, and other decorative fabrics.
Elastic Bands: For hair ties and scrunchies.
Metal Findings: Clips, barrettes, bobby pins, and combs.
Embellishments: Beads, rhinestones, sequins, buttons, and flowers.
Ribbons: Satin, grosgrain, and other decorative ribbons.
Wire: For shaping and creating structures.
Glue: Fabric glue, hot glue, and super glue.
Thread: Matching thread for sewing.
Essential Tools
Scissors: Fabric scissors and small, sharp scissors for detailed work.
Sewing Machine: Optional but useful for making scrunchies and fabric bows.
Needles: Hand-sewing needles and embroidery needles.
Pliers: For bending and cutting wire.
Measuring Tape: For precise measurements.
Pins: To hold fabric in place while sewing.
Hot Glue Gun: For quick and secure adhesion.
2. Basic Techniques
Sewing
Hand Sewing: Basic stitches like running stitch, backstitch, and whip stitch are useful for small projects.
Machine Sewing: Useful for making larger quantities or more durable hair accessories.
Glueing
Hot Glue: Provides a strong bond for attaching embellishments and fabric.
Fabric Glue: Ideal for attaching fabric pieces without sewing.
Wire Wrapping
Basic Wrapping: Techniques for securing beads and creating shapes.
Twisting and Bending: Creating decorative shapes and structures.
3. Step-by-Step Projects
Hair Ties and Scrunchies
Basic Hair Tie
Cut Elastic: Cut a piece of elastic to the desired length (usually about 8-10 inches).
Sew Ends: Overlap the ends and sew them together securely.
Cover Seam: Wrap a small piece of ribbon around the seam and glue it in place.
Scrunchie
Cut Fabric: Cut a piece of fabric 18 inches long and 4 inches wide.
Fold and Sew: Fold the fabric lengthwise with the right sides together and sew along the long edge, creating a tube.
Turn Inside Out: Turn the tube right side out.
Insert Elastic: Thread a piece of elastic (8 inches long) through the tube.
Sew Ends: Sew the ends of the elastic together.
Finish Scrunchie: Tuck in the raw edges of the fabric tube and sew or glue them together to close the scrunchie.
Headbands
Fabric Headband
Cut Fabric: Cut two pieces of fabric, each 18 inches long and 3 inches wide.
Sew Pieces Together: Sew the pieces together along the long edges, right sides facing each other, leaving the ends open.
Turn Inside Out: Turn the fabric right side out.
Insert Elastic: Insert a 6-inch piece of elastic into one end of the fabric tube and sew it in place. Repeat for the other end.
Finish Headband: Tuck in the raw edges and sew or glue them to finish.
Wire Headband
Cut Fabric and Wire: Cut a piece of fabric 36 inches long and 3 inches wide. Cut a piece of wire slightly shorter than the fabric.
Sew Fabric: Sew the fabric along the long edge, right sides together, creating a tube.
Turn Inside Out: Turn the fabric right side out.
Insert Wire: Thread the wire through the fabric tube.
Finish Ends: Fold in the raw edges at each end and sew or glue them closed.
Decorative Clips and Barrettes
Ribbon Bow Clip
Cut Ribbon: Cut a piece of ribbon 8 inches long.
Form Bow: Fold the ribbon into a bow shape and secure the center with a small piece of thread or wire.
Attach to Clip: Glue or sew the bow onto a hair clip or barrette.
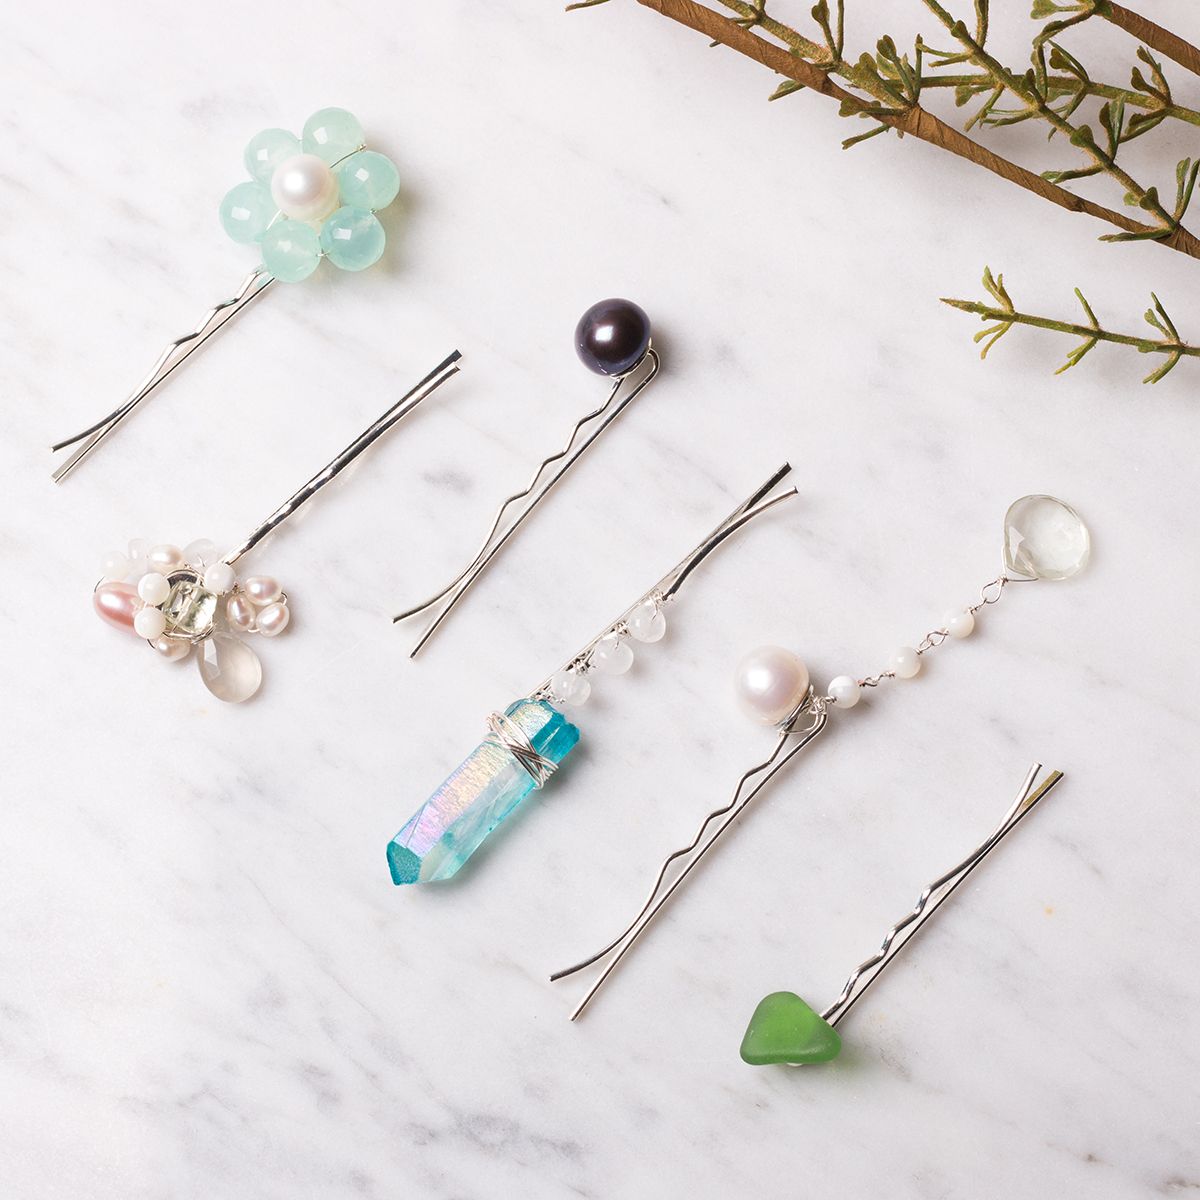
Beaded Hair Clip
Prepare Beads: Thread beads onto a piece of wire.
Attach to Clip: Wrap the wire around the hair clip, securing the beads in place.
Secure Ends: Twist and tuck the wire ends to prevent them from poking out.
Floral Hair Accessories
Flower Crown
Cut Wire: Cut a piece of wire long enough to fit around your head, plus a few extra inches.
Attach Flowers: Secure faux flowers and leaves to the wire using floral tape or hot glue.
Form Crown: Shape the wire into a circle and twist the ends together to secure.
Flower Hair Comb
Prepare Flowers: Cut the stems off faux flowers, leaving about an inch of stem.
Attach to Comb: Glue the flowers to a hair comb, starting from the center and working outward.
Add Leaves: Fill in gaps with leaves and smaller flowers.
4. Customization and Personalization
Embroidery
Monograms: Add initials or names to fabric accessories using embroidery.
Decorative Stitches: Enhance the design with decorative embroidery stitches.
Painting and Dyeing
Fabric Paint: Use fabric paint to add patterns or designs to hair accessories.
Dyeing: Experiment with fabric dyes to create unique colors and patterns.
Mixed Media
Combine Materials: Use a combination of fabric, beads, wire, and other materials to create unique designs.
Layering: Layer different textures and elements to add depth and interest.
5. Packaging and Presentation
Packaging
Display Cards: Attach hair accessories to display cards for a professional look.
Boxes and Bags: Use small boxes or organza bags to package hair accessories for gifting or selling.
Presentation
Labeling: Include labels or tags with information about the materials used and care instructions.
Branding: Add branding elements, such as logos and business cards, to your packaging.
Conclusion
Making hair accessories is a creative and enjoyable craft that allows for endless customization and personalization. By following the steps and techniques outlined in this guide, you can create beautiful and functional hair accessories for yourself, gifts, or even for sale. Whether you�re a beginner or an experienced crafter, there�s always something new to learn and explore in the world of hair accessory making.